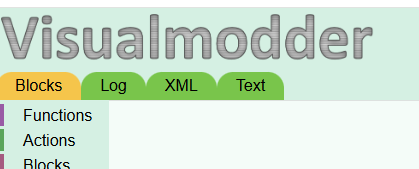
Fine-Tuning & Customization
1. Personalizing the Logo
You can replace the default Visualmodder logo with your own custom image.
- Create the following folder (if it does not already exist):
plugins\visualmodder\resources\customization\images\- Add your custom logo file named
logo.pnginto this folder. - Restart the Minecraft server.
After restarting, your image will appear as the logo in the Visualmodder editor.
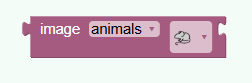
2. Adding Custom Images
You can extend the image block by adding your own image assets.
- Create the folder:
plugins\visualmodder\resources\- Download and unzip
images.zipinto this folder.
This will create a folder images containing folders with images that will automatically become available inside the Visualmodder image block.
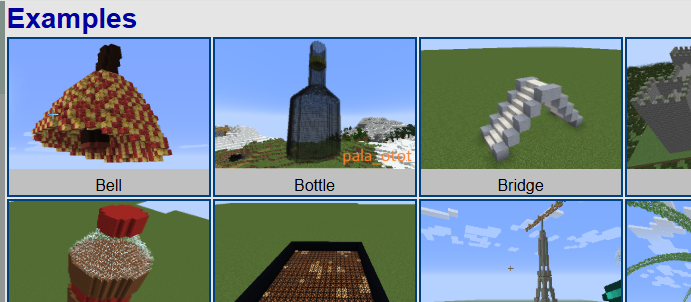
3. Adding Custom Examples
You can provide your own example programs that appear in the Visualmodder interface.
- Create the folder:
plugins\visualmodder\resources\examples\default\- Add your example files to this folder.
Each example consists of two files with the same name:
example.png– preview image shown in the UIexample.xml– the exported Visualmodder program
Example:
castle.png
castle.xml
To export the XML from an existing program, open it in Visualmodder and click the XML tab.
After restarting the server, your custom examples will appear in the editor.